If you’ve ever watched a movie or a slick YouTube video, you’ve probably noticed some pretty smooth zooms that really make the content pop. Whether it’s focusing on a particular subject, intensifying an emotional moment, or simply guiding the viewer’s eye, zooming is an essential tool for video editors. But what about when you’re working in Adobe Premiere Pro? How do you zoom in like a pro without turning your edits into a disaster?
In this article, we’ll dive into the various ways to zoom in Premiere Pro, from the basics to advanced techniques. By the end, you’ll be zooming in and out like a seasoned editor. So, let’s zoom in on this topic!
1. Why Zooming Matters in Video Editing
Let’s be honest, zooming can completely change the way your audience experiences your video. Whether you’re zooming in to emphasize a detail or zooming out for dramatic effect, it allows you to control the pacing and emotional tone of your footage. From the subtle to the bold, zooming lets you direct focus and set the mood.
For instance, in an action-packed film like Mad Max: Fury Road (2015), the zooms add to the intensity of high-speed chases. On the flip side, in emotional dramas like The Pursuit of Happyness (2006), zooming in on a character’s face can heighten the emotional impact of a moment.
So, why not apply these effects to your own editing work? It all starts with knowing how to zoom in Premiere Pro.
2. The Basics of Zooming in Premiere Pro
Before we get into the nitty-gritty, let’s go over the basic tools in Premiere Pro that help with zooming. You’ll mostly be using the timeline and the Program Monitor. Here’s a simple rundown:
- Zooming in the Program Monitor:
- In the Program Monitor window, locate the slider at the bottom. You can adjust this slider to zoom in or out of your clip. The higher the percentage, the more zoomed in you’ll be.
- In the Program Monitor window, locate the slider at the bottom. You can adjust this slider to zoom in or out of your clip. The higher the percentage, the more zoomed in you’ll be.
- Zooming in on the Timeline:
- To get a better view of the finer details of your edits, use the timeline zoom feature. You can either adjust the zoom slider on the bottom right or use the keyboard shortcut Alt + Mouse Scroll to zoom in or out.
- To get a better view of the finer details of your edits, use the timeline zoom feature. You can either adjust the zoom slider on the bottom right or use the keyboard shortcut Alt + Mouse Scroll to zoom in or out.
3. Using the Zoom Tool for Precision
For those moments when you need an extra level of control, Premiere Pro’s Zoom Tool is your friend. You’ll find it under the magnifying glass icon in the toolbar. Once activated, simply click and drag over the area you want to zoom in on. This tool allows for precision, particularly when working with complex edits or multiple clips.
Let’s say you’re working on a fast-paced music video and need to zoom in on a particular beat or action. With the Zoom Tool, you can quickly and accurately pinpoint the exact frame you need.
4. Zooming on the Timeline for Better Editing Control
One of the key factors in editing is precision. Zooming in on your timeline lets you get down to the frame level. This is crucial when you’re syncing audio, fine-tuning cuts, or making small adjustments to your footage. By zooming in, you gain more control over where the edits happen, and you can fine-tune your transitions.
To zoom in on the timeline:
- Press + (plus key) to zoom in on the timeline.
- Use the Shift + Scroll to move around quickly.
- To zoom out, press – (minus key).
5. Keyframes: Adding Dynamic Zooms in Your Project
Keyframes are your gateway to adding dynamic zoom effects in Premiere Pro. Instead of manually zooming in on the footage, you can animate the zoom by adding keyframes. This allows you to control the zoom over time and create smooth transitions between zoom levels.
Here’s how to do it:
- Open the Effect Controls panel.
- In the Motion section, find the Scale property.
- Click the stopwatch next to Scale to add your first keyframe.
- Move the playhead to the point where you want the zoom to end, and adjust the scale accordingly.
- Premiere Pro will automatically animate the zoom between the two keyframes.
6. Creating a “Ken Burns Effect” Zoom
The “Ken Burns Effect,” named after the famous documentary filmmaker, is a popular zoom technique used for photos. It creates a slow, panning zoom effect that gives a still image the illusion of motion.
To create the Ken Burns effect:
- Import your image or video clip.
- Open the Effect Controls panel and adjust the Position and Scale settings.
- Add keyframes at the start and end of the clip to animate the zoom.
This technique is used in everything from historical documentaries to modern vlogs.
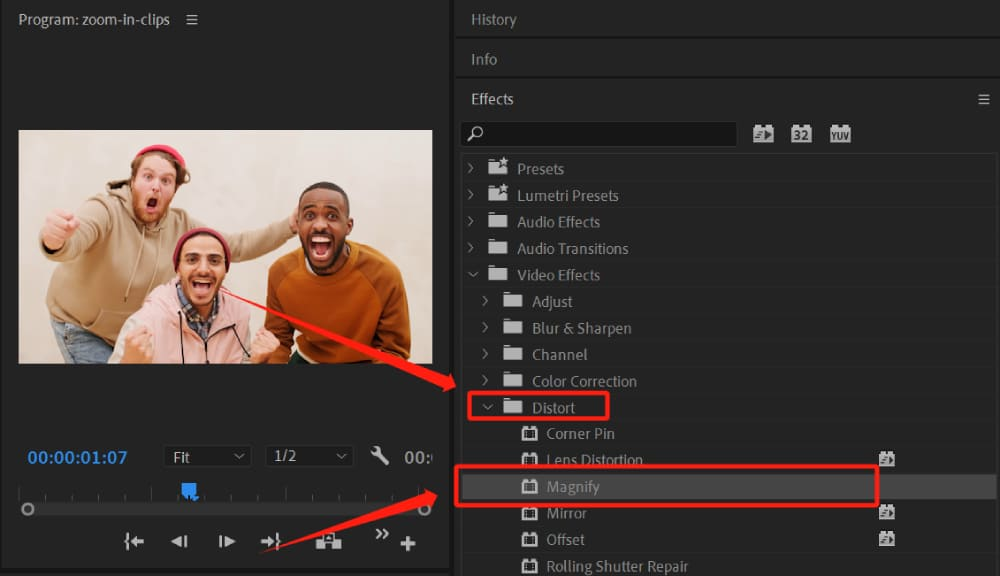
7. Zooming In on Clips to Improve Focus
Zooming in on specific parts of the frame can help draw attention to details that might otherwise go unnoticed. For instance, if you’re editing an interview, you might want to zoom in slightly on the speaker’s face to convey emotion or emphasize a moment.
Let’s say you have a close-up of a person’s hand writing a letter. Zooming in slightly on the hand during an important part of the story can make the action feel more intimate and focused.
8. Advanced Techniques: Nesting and Zooming
If you’re dealing with multiple layers of video and want to apply zoom effects to all of them without affecting individual clips, nesting is your solution. Nesting lets you group multiple clips into a single sequence and then apply a zoom effect to the entire sequence.
This technique comes in handy when working with complex projects like music videos or commercials, where multiple zooms need to be synced across various elements.
9. Using Motion Controls for Smooth Zooms
For even smoother zooms, use Premiere Pro’s motion controls. These controls allow you to adjust the Position, Scale, and Rotation of your clip.
To apply a smooth zoom:
- Open Effect Controls and locate Motion.
- Adjust the Scale property to create your zoom effect.
- Apply a Position change if you need to focus on a specific area of the frame.
- Use the Rotation property for a dynamic zoom effect.
10. Zooming in for Color Grading and Visual Effects
Sometimes, zooming is crucial for color grading and visual effects. For instance, when applying a vignette effect or adjusting color balance, it’s often easier to work with a zoomed-in view to see the minute details. This is especially useful when working with close-up shots or intricate compositions.
11. Practical Examples of Zooming in Popular Videos
Let’s take a look at some popular videos that use zooming techniques:
- The Social Network (2010): Zooming is used to intensify moments of tension.
- YouTube vloggers like Casey Neistat often use zooming to highlight key details in their storytelling.
12. Conclusion: Mastering Zooming for Better Video Editing
Mastering zooming in Premiere Pro opens up a world of creative possibilities. Whether you’re enhancing an emotional moment, focusing on a specific detail, or creating a dynamic effect, zooming is a powerful tool in any editor’s arsenal. So, experiment with different techniques, use keyframes for dynamic zooms, and don’t forget to zoom in on the details that matter most in your project.
Now, it’s time to get zooming!